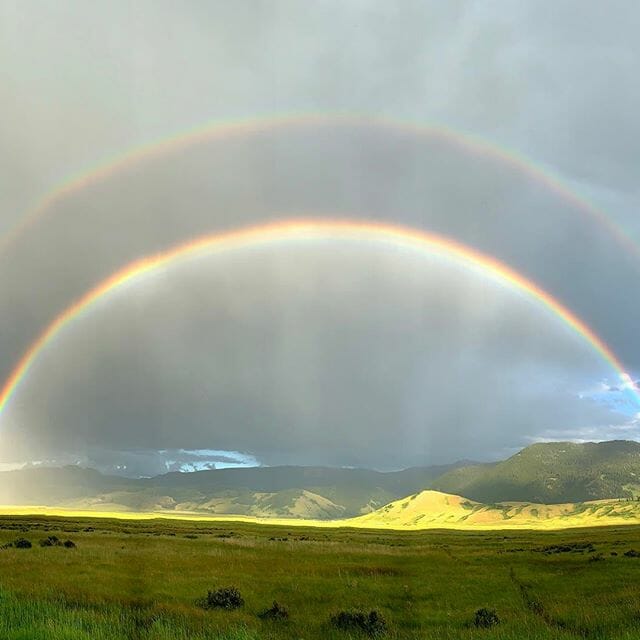
Did you know that you have a powerful camera right in your pocket? Professional Photographer, Dwight Vasel, breaks down some basic iPhone functionality for you. Read more about the tips and tricks you can use to take photographs and video with your smartphone. With a camera built in to your phone, you have a powerful little point and shoot at your fingertips, perfect for wildlife photography in the field.

You are in for a real treat as you venture out on your Jackson Hole Wildlife Safaris trip. You are about to be a part of some of the most spectacular scenery, landscape and wildlife this country has to offer. Every turn in the road offers one spectacular scene after another. And you’re in luck; you have, in your hand, the easiest and best point and shoot camera ever made…your phone. So let’s make sure you know “the basics” of taking pictures with your iPhone before going on your Jackson Hole Wildlife Safaris trip.

Tip #1: Have enough juice! Make sure your phone is fully charged. It sounds simple, but low battery is a common disappointment. Some guides carry extra charging cables with them but be prepared in case they don’t have them that day. Charge your phone completely the night before. If you have a portable battery charger, bring it with you and make sure it is fully charged in order to provide adequate charge for your phone.
Tip #2: Take a photo! Tap on the camera icon, activating your camera. Point your phone at the scene and tap the white circle just below the word photo (if holding vertically) or to the right of the word photo (if holding horizontally). You have just taken a picture. Pretty simple. Just remember not to get your finger in front of the lens. Always keep your fingers to the side or on top of the phone. Taking finger pictures happens all the time but you don’t want to ruin a perfect shot by having your finger in front of the lens.
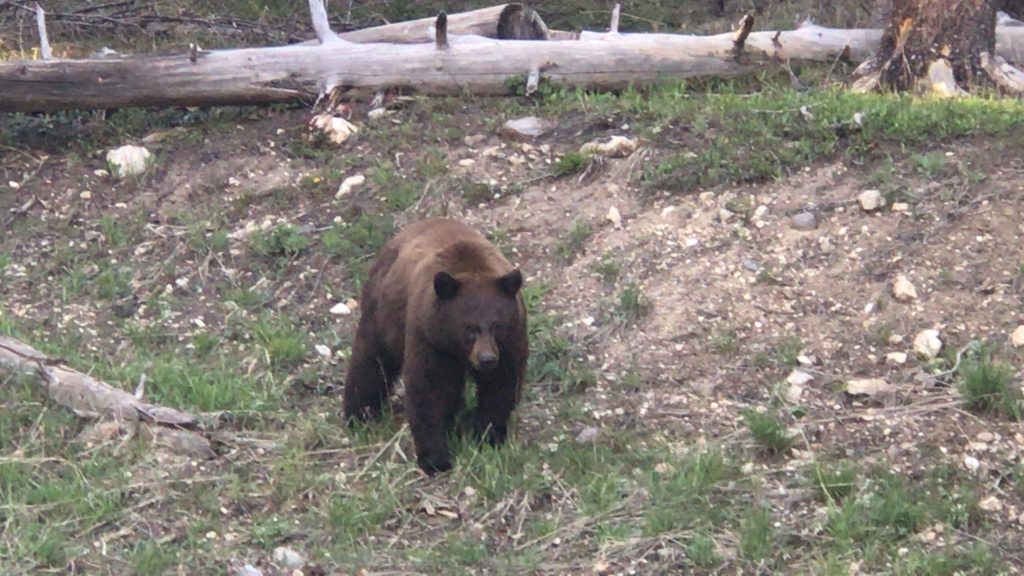
Tip #3: Zoom in for a closer shot. A simple way of zooming in is to tap the 1x with a circle around it displayed just above (vertically) or to the left (horizontally) of the word photo. That will automatically zoom in to 2x. Tap the 2x again and your camera will zoom back to its original size. Another way of zooming is to use your fingers. Place your thumb and index finger together in the middle of the screen and “pinch out” to the outer part of the screen. This will really give you lots of zooming power. Too much zoom you say? Then do just the opposite. Separate your thumb and index finger on the outer part of the screen and “pinch in” to get just the right amount of zoom. If you are not familiar with these zooming techniques, it is recommended that you practice and get familiar. You’ll be glad you did.
Tip #4: Done zooming and want to go back to the original size? There are two ways to do that. Tap the circle with the number and the “x” that is next to the word photo. That will quickly and automatically take you back to the original size. The second way is with the thumb and index finger; separate your thumb and index finger, place them on the outer part of the screen and “pinch in” and your camera will go back to the original size.
Tip #5: Take a video. Do you want to capture the wildlife roaming free? There’s no better way than with the video function of your phone and it’s simple. The word video is next to the word photo. Use your finger to slide the word video over until it’s highlighted. The white button next to the word will turn red. Just push the red button and you are now capturing wildlife on the move using video. When you are done taking the video, press the red button again to stop. Pretty cool!
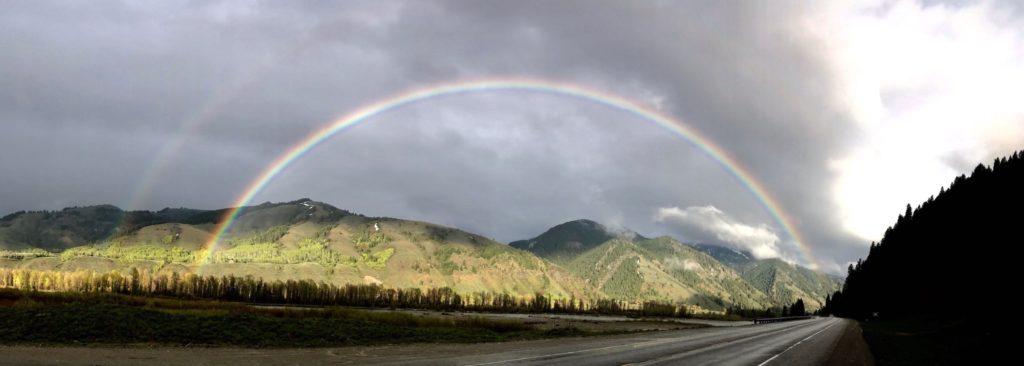
Tip #6: Can you zoom in while shooting video? Yes you can. Just use the same techniques as when taking a picture. Make sure to keep your phone as steady as possible while you do this, or the extra movement may make the video too jumpy to view.
Tip #7: Taking a picture and taking a video at the same time? Oh yes you can! This is the coolest feature the iPhone offers. You get the best of both worlds; videography and photography. Here’s how to do it. Get in the video mode by moving the word video until it’s highlighted. The white button next to the word video will turn red. Push the red button and start taking the video. When you do that, there will be a white button appear to the left (holding phone vertically) or just below (if holding the phone horizontally) of the red button. That’s your picture taking button. Just push the white button and you now have taken a picture while taking a video. You can take as many pictures as you like while taking your video. How awesome is that!

Tip #8: All your photos and videos that you took are automatically stored in the photo app on your phone. Just open the photo app and you will see them all. These tips should send you on your way to capturing memories that will last a lifetime. Remember, if you are not familiar with some of these camera functions, please please get familiar with them before going out on your Jackson Hole Wildlife Safaris trip. We don’t want you to miss out on any of the spectacular scenery, landscape and wildlife that the Grand Teton and Yellowstone National Parks have to offer. Have fun and enjoy your trip!
Want to view wildlife during your vacation? Check out our best-selling wildlife safaris. Go with an experienced naturalist guide.

