Winter in Jackson Hole
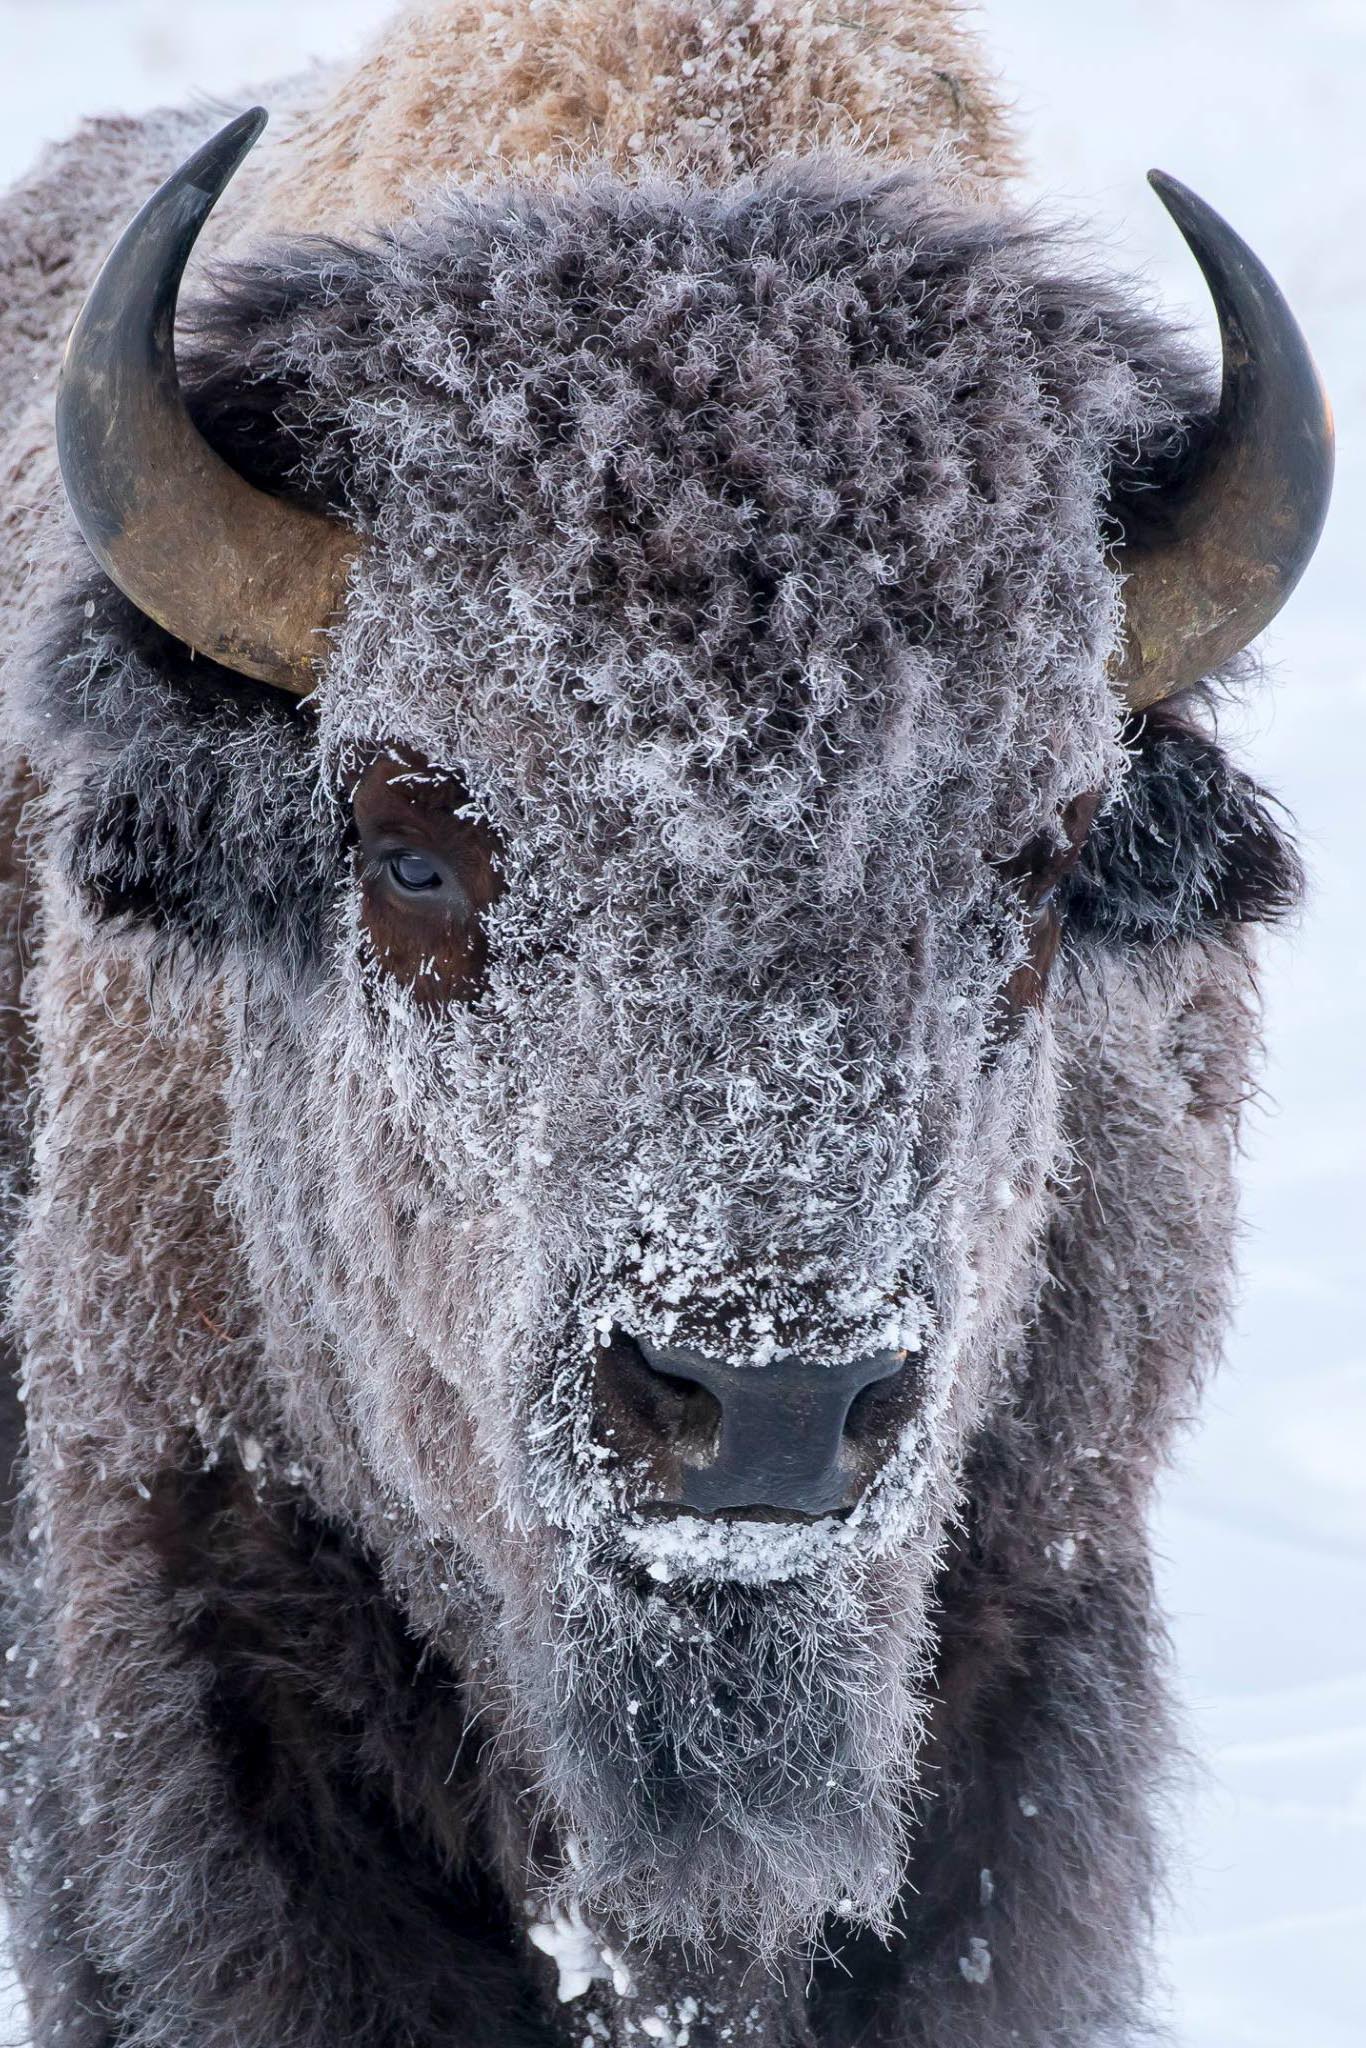
I love winter in Jackson Hole, it is my favorite time of the year after spring, autumn and summer. Seriously, although I have never skied, I love winter in Jackson Hole because of the unspeakable beauty. Winter is a time of paradoxes and extremes; landscapes covered in clean white snow are most beautiful; temperatures range from above freezing to well below zero, animals are wearing their finest winter furs, some animals are losing their adornments (antlers) and many scenes you will have alone as most folks are nestled comfortably in front of the fireplace. Capturing this winter beauty is an exercise of extremes. We must deal with three primary exposures; skin, camera and photographic.
Dress for the Weather
Tip 1: Stay Warm by dressing for the weather! We probably won’t be able to spend more that a few minutes outside our vehicle if we are not dressed properly which will limit our chances of making a successful image. It’s important to dress in layers so that we can be warm in the early morning when it is below zero and we can peel off a few layers when the midday temperatures approach single and double digits. Any quality sporting apparel store can provide a variety of undergarments and overgarments to deal with all extremes. When I am photographing winter wildlife, I am typically standing for many hours of the day. The three coldest parts of my body are head, feet and hands. Caps, ski masks, balaclavas, and scarfs insulate the head; good winter boots with toe warmers keep the feet toasty and mittens with liners protect the hands. In order to operate the camera, you need index finger and thumb dexterity; mittens can be temporarily removed and the glove liners protect the hand during photo sessions. I also use heat-pack glove warmers in my mittens when it is really brutal outside.
Protect your Batteries
Tip 2: Protect your batteries from getting too cold! With the proper attire, we turn our attention to our camera. Most modern cameras are built to take any extreme the human body can handle. I spent two years photographing wildlife in Siberia where the winter temperature never rose above -40. The camera never missed a beat however the camera batteries depleted quickly in the cold temperatures. Keeping a spare battery in a pocket close to your body, such as an inside a pants pocket easily solves this. When the camera battery drains, just replace it with the warm battery.
Prevent Fogging
Tip 3: Don’t let your camera get too warm to prevent fogging! While it’s important to keep our batteries warm we need to avoid moving our camera from a warm environment (car, hotel room, etc) to the frigid exterior, it will immediately fog up with condensation. I typically do not keep my car warm; I am dressed for the exterior temperature and I typically use my vehicle to go from one location to another. However, it you prefer a warm vehicle, you can store the camera and lenses in the trunk. The trunk is unheated and your gear will be the same temperature as the exterior.
Reduce Engine Vibration
Tip 4: Make sure to turn off your vehicle if shooting from an open window! Of course, you also have the option of shooting images from an open window. This will protect you from the wind and the window edge can work as a temporary tripod if you use a beanbag or stiff pillow; however do turn off the car during your photography session to eliminate engine vibration.
Exposure Compensation Feature
Tip 5: Use your camera’s exposure compensation feature to make the snow white! The third area of concern is photographic exposure. Typically, if we have the camera on auto exposure, our pictures of white snow scenes will be gray. We all know that clean snow in bright sunlight is white; so why are your pictures gray? Actually, the camera exposure is operating exactly how it is designed. Exposure meters assume that you are recording an average scene; scientists and engineers have determined that an average scene is 18% grey. Entire books have been written about exposure; we will not go into all the details in this short blog but if you wish, delve into the stacks of the library for a complete treatise on exposure. Most current 35mm cameras will have a method to compensate for the scene that is not 18% gray. If you are shooting in automatic mode (aperture priority, shutter priority, full auto, etc); you will need to add compensation. Digital cameras have a viewing monitor and it is easy to take a shot, make compensation, take another shot and evaluate if the compensation was enough to render white snow properly. If not, add compensation to make the scene lighter or subtract compensation to make it darker. Digital cameras also have a histogram that can be enabled in the menus; this is the best method to judge exposure. We will dive into the basics of the histogram in part 2 of this blog article.
Winter Photography
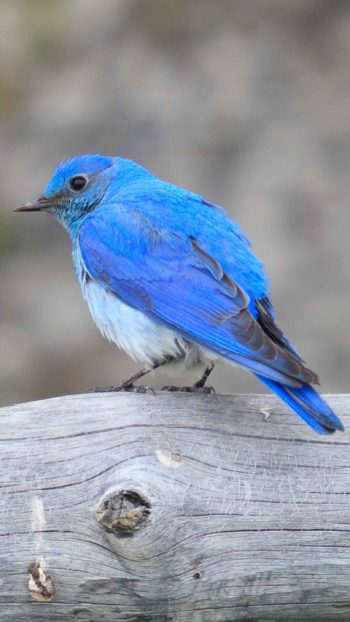
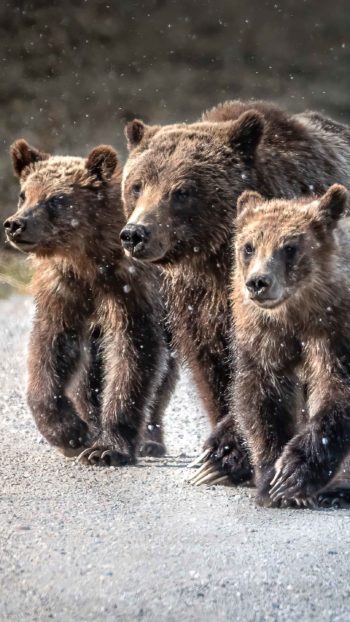
Winter photography is most satisfying because you are recording images few others have attempted. Frequently, wildlife will not flee as quickly in winter; if you make slow movements, most wildlife will go about feeding and their other daily activities.
Do Not Disturb Wintering Wildlife
Bonus tip: Do not disturb wintering wildlife! Because winter is a time when food is in short supply, it simply takes too much energy for wildlife to run away from a minor disturbance. Do not approach wildlife closer than allowed since you will not wish to stress the animal and provoke a “flight or fight” response. With a effective field and photography techniques you will have a longer opportunity to photograph animals during the winter period.
Guest Blog Author: Moose Henderson
Sharpen your Photography Skills
Winter Safaris